
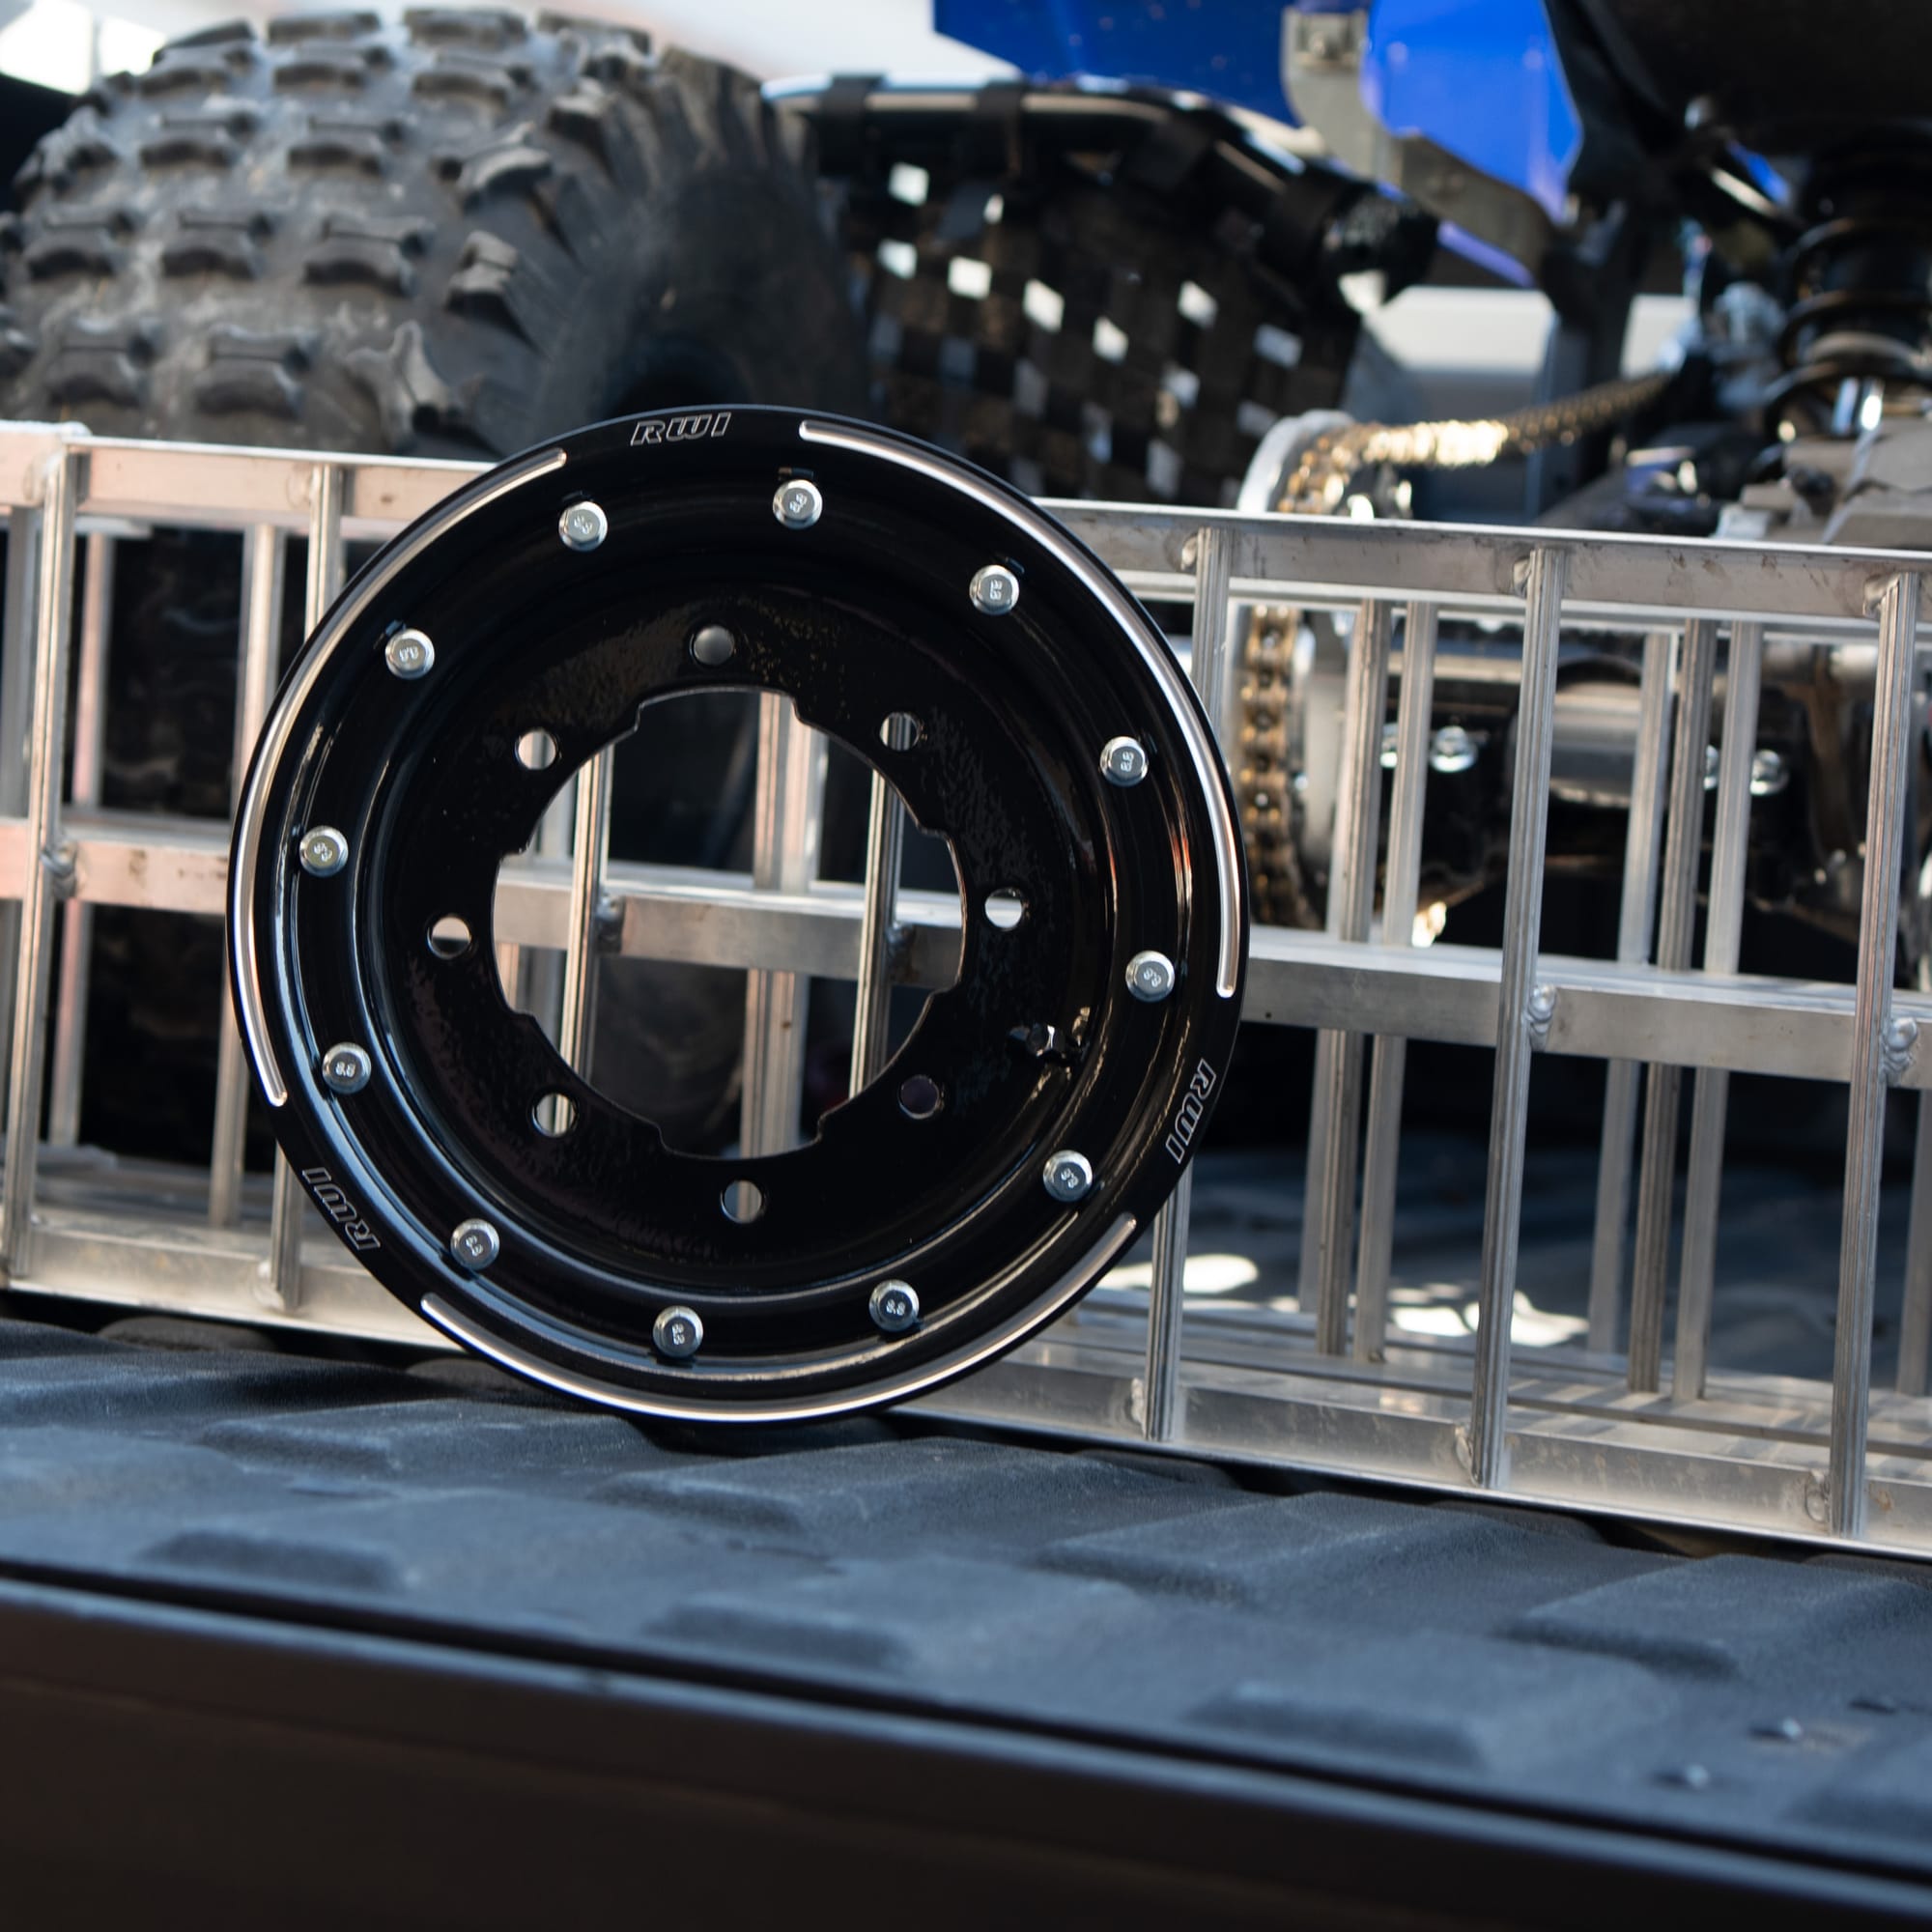
Beadlock Installation and Torque
RWI’s own seven-step ring procedure, the published maximum ring bolt torque, and the re-check schedule that keeps a bead sealed all season.
On this page
A beadlock ring only works if it is clamped evenly. Get it right and the tyre stays exactly where you put it at whatever pressure the terrain wants. Get it wrong — uneven passes, a dirty flange, a bolt taken past spec — and you have built a slow air leak or a stripped nut plate into your race weekend.
What follows is RWI’s published procedure for its own wheels, not a generic internet version, along with the one torque figure RWI publishes. Work through it in order. It takes longer to read than to do.
Before you start
- A calibrated torque wrench. Not a guess, not a breaker bar, not "until it feels right". The spec below is low enough that feel will get you nowhere near it.
- Tyre paste, sometimes sold as bead lubricant. It is what makes the bead seat evenly under clamping pressure and seals the mating surfaces.
- The ring hardware that came with the wheel, in good condition. Damaged bolts or pulled nut plates are replaceable parts from wheel accessories rather than a reason to carry on regardless.
- The spec sheet included with your wheels. Keep it — it is the reference for anything not covered here.
The seven-step procedure
- 1
Clean all mating surfaces
Thoroughly clean the wheel flange and all beadlock ring contact surfaces. Remove all dirt, debris and old lubricant. A clean surface ensures even clamping force and prevents bolt loosening under vibration.
- 2
Apply tyre paste to all sealing surfaces
Apply a generous, even coat of tyre paste (bead lubricant) to the wheel bead seat, the tyre bead and the inner face of each beadlock ring. This ensures a proper airtight seal between all mating surfaces and helps the bead seat evenly under clamping pressure.
- 3
Mount the tyre and seat the bead
Mount the tyre onto the wheel and position the bead fully into the beadlock channel. Ensure each bead is seated evenly all the way around the wheel before proceeding — an uneven bead will cause an uneven clamp.
- 4
Position the beadlock ring
Align each beadlock ring over its respective tyre bead, confirming all ring holes line up with the nut plates on the wheel. Each ring should sit flush against the tyre sidewall with no gaps around the perimeter.
- 5
Install all bolts finger-tight
Thread all bolts on all rings by hand until snug but not tightened. If installing multiple rings, finger-tighten all rings before torquing any — this keeps the beads centred and ensures even compression across the full assembly.
- 6
Torque the bolts in a star pattern
Using a calibrated torque wrench, tighten the bolts gradually in a cross or star pattern, working opposite sides of each ring alternately. Complete at least two full passes per ring, incrementally increasing torque until all bolts reach the specification below.
- 7
Inflate the tyre and re-check torque
Inflate the tyre to the recommended PSI. Once inflated, go around all rings a final time to confirm all bolts remain at spec. Tyre pressure can cause slight bead movement that may affect bolt seating.
The torque spec
That number surprises people the first time they read it, because it is far lower than anything else they torque on a quad. It is meant to be. The ring is clamping a rubber bead against a machined aluminium seat, and the clamping force comes from a lot of bolts sharing the job evenly rather than from any one of them being tight.
Which is why the star pattern and the multiple passes matter more than the final number. A ring pulled down one bolt at a time will read correct on a wrench and still be sitting crooked, with the bead compressed hard on one side and barely touched on the other.
Lug nuts are a different spec entirely
The 7.5 ft·lb figure is for the beadlock ring bolts only. It has nothing to do with the lug nuts that hold the wheel to the hub, and using it there would leave your wheel dangerously loose.
RWI does not publish a universal lug nut torque, because the correct figure depends on your machine’s studs rather than on our wheel. Follow the spec sheet included with your wheels and your machine’s service manual, tighten in a cross pattern, and re-check after the first ride. If you are replacing hardware, lug nut kits are stocked in wheel accessories.
The re-check schedule
A beadlock is a serviceable assembly, which is exactly why it is worth running — and exactly why it needs looking after. RWI publishes the schedule on every wheel page:
- Check torque after the first ride, without exception. Bedding-in moves things.
- Check every five rides thereafter.
- Inspect the beadlock ring bolts before each race for proper torque.
- Re-check after any hard impact, and after extended trail use.
Two minutes with a torque wrench in the pits is the cheapest insurance available. It is also the honest cost of running a beadlock, and the thing to weigh up before you buy one — beadlock vs rolled lip makes that case both ways.
If it is not sealing
- Losing air slowly with everything at spec: the bead is probably not seated evenly. Deflate, break it down, re-lubricate and reseat rather than chasing the leak with more torque.
- A gap between the ring and the sidewall at one point on the perimeter: the ring is sitting crooked. Back the bolts off, re-seat, and re-torque in the star pattern with more passes.
- A bolt that will not come up to spec, or that spins: the nut plate behind it has pulled or stripped. Replacement nut plate kits are a stocked part — fix it, do not ride it.
- A ring that will not sit flat on a clean flange: check it for damage. Rings are stocked in 8, 9 and 10 inch to match wheel diameter, so a bent one is a parts order rather than a new wheel.
If you are not sure which ring diameter your wheel takes, it follows the first number in the wheel name — the same logic covered in the wheel size guide.
Common questions
RWI publishes a maximum of 7.5 ft·lb for beadlock ring bolts, and it applies to all rings, front and rear. Do not exceed it — over-torquing can damage the nut plates, strip threads or warp the ring, which causes bead seal failure. Use a calibrated torque wrench and reach the figure gradually over at least two full passes in a star pattern.
That depends on your machine rather than on the wheel, and RWI does not publish a universal figure. Follow the spec sheet included with your wheels and your machine’s service manual, tighten in a cross pattern, and re-check after the first ride. Never use the beadlock ring figure on a lug nut.
Because the clamping force has to arrive evenly around the whole ring. Working opposite sides alternately over at least two full passes keeps the ring flat against the sidewall and the bead compressed evenly. Pulling bolts down one at a time in sequence leaves the ring crooked even when every bolt reads at spec.
After the first ride, then every five rides. Inspect the ring bolts before each race, and re-check after any hard impact or extended trail use.
Yes. A generous, even coat on the wheel bead seat, the tyre bead and the inner face of each ring is what creates the airtight seal between the mating surfaces and lets the bead seat evenly as the ring is clamped down. Skipping it is the most common cause of a beadlock that will not hold air.